Substance Painter Beginners Guide To 3D Game Texturing
Course Description
Have you ever wanted to learn how to texture 3d models to a professional level? What about creating game assets that look like they were created by a AAA games company?
‘Substance Painter Beginner's Guide to Game Texturing’ is a game texturing course devoted to complete beginners.
Even if you have never textured anything before, this course will help you learn how to texture game props and environments to an industry-standard level in a few short hours.
This course will give you access to just over just over 10 hours of 3D art step-by-step tutorials.
Learn how to texture game assets and scenes in Substance Painter in 53 lessons.
Substance Painter, as you may or may not be aware, is a pretty complex programme for both beginners and veterans alike. The goal of ‘Substance Painter Beginner's Guide to Game Texturing’ is to simplify the process. We aim take complete beginners with no prior experience to the course finish line where they will be leaving with the skills and knowledge to texture their very own assets and environments.
Best of all, Substance Painter is now free to download for students from Adobe so there’s never been a better time to get started on your journey!
So, let’s dive into what you will be learning with ‘Substance Painter Beginner's Guide to Game Texturing’ and how we have made this possible.
Our ‘Substance Painter Beginner's Guide to Game Texturing’ top 6:
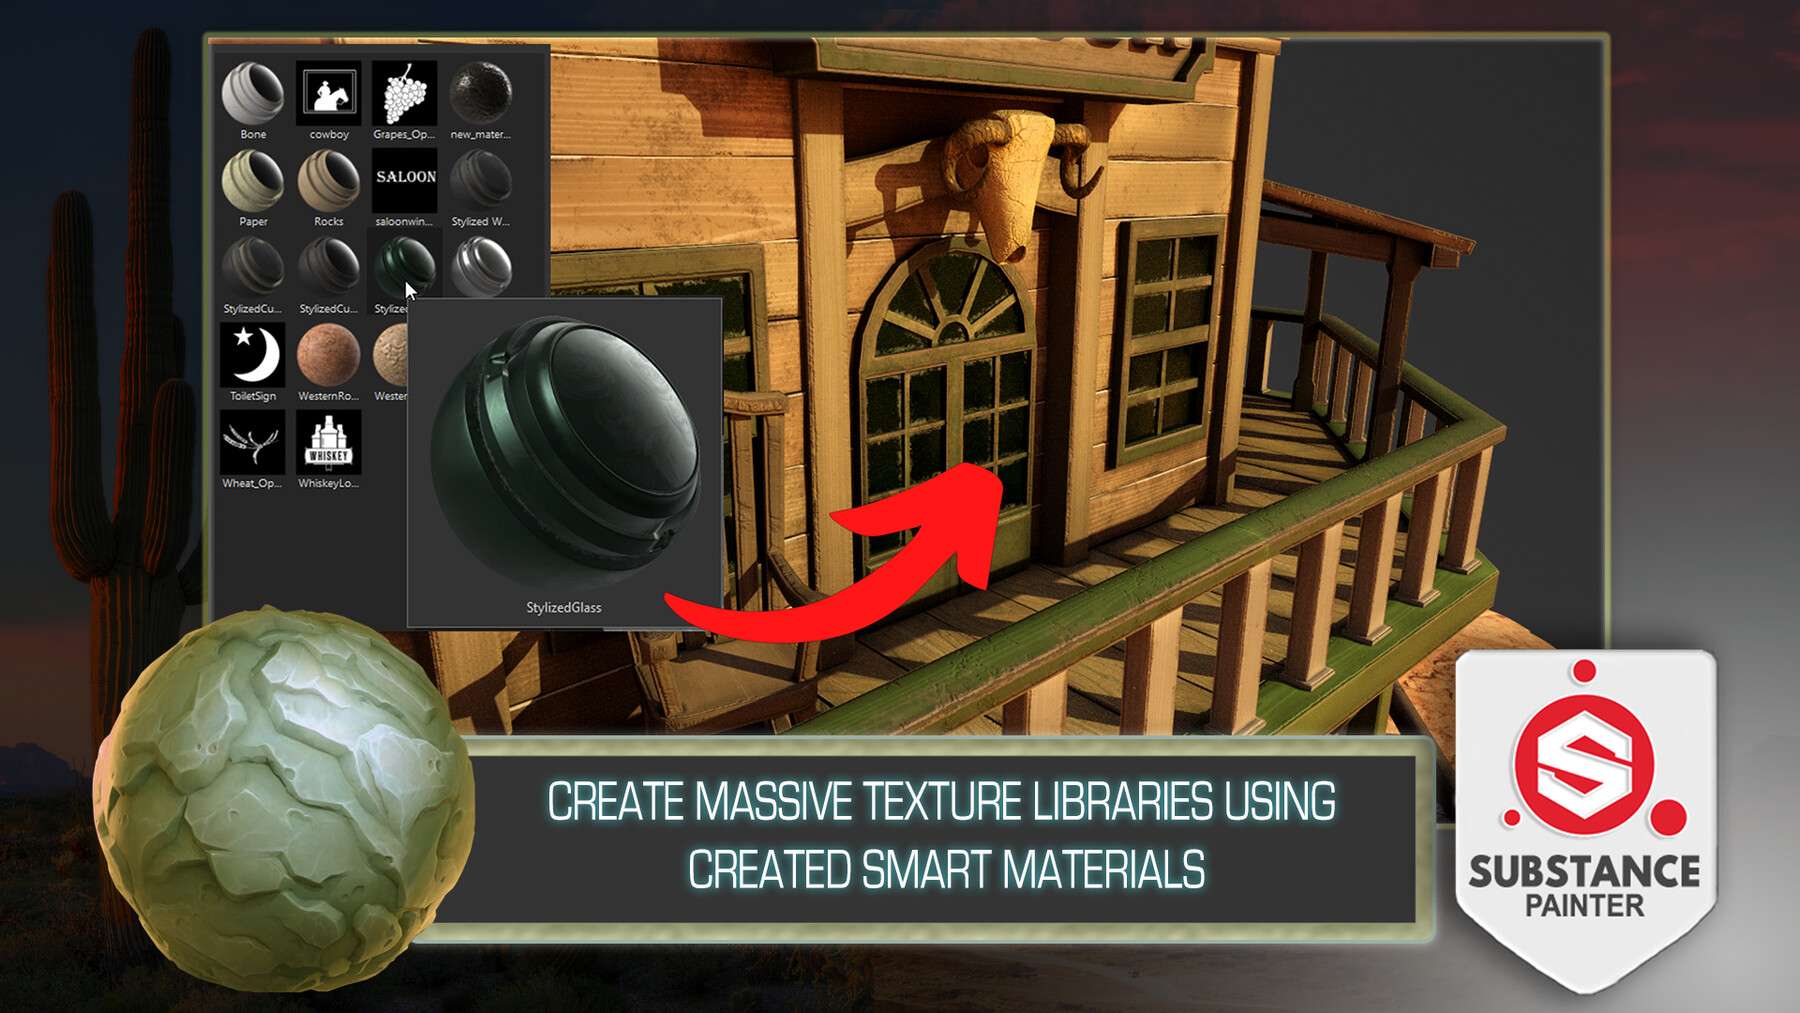
- Build Massive Texture Libraries using SMART Materials we created;
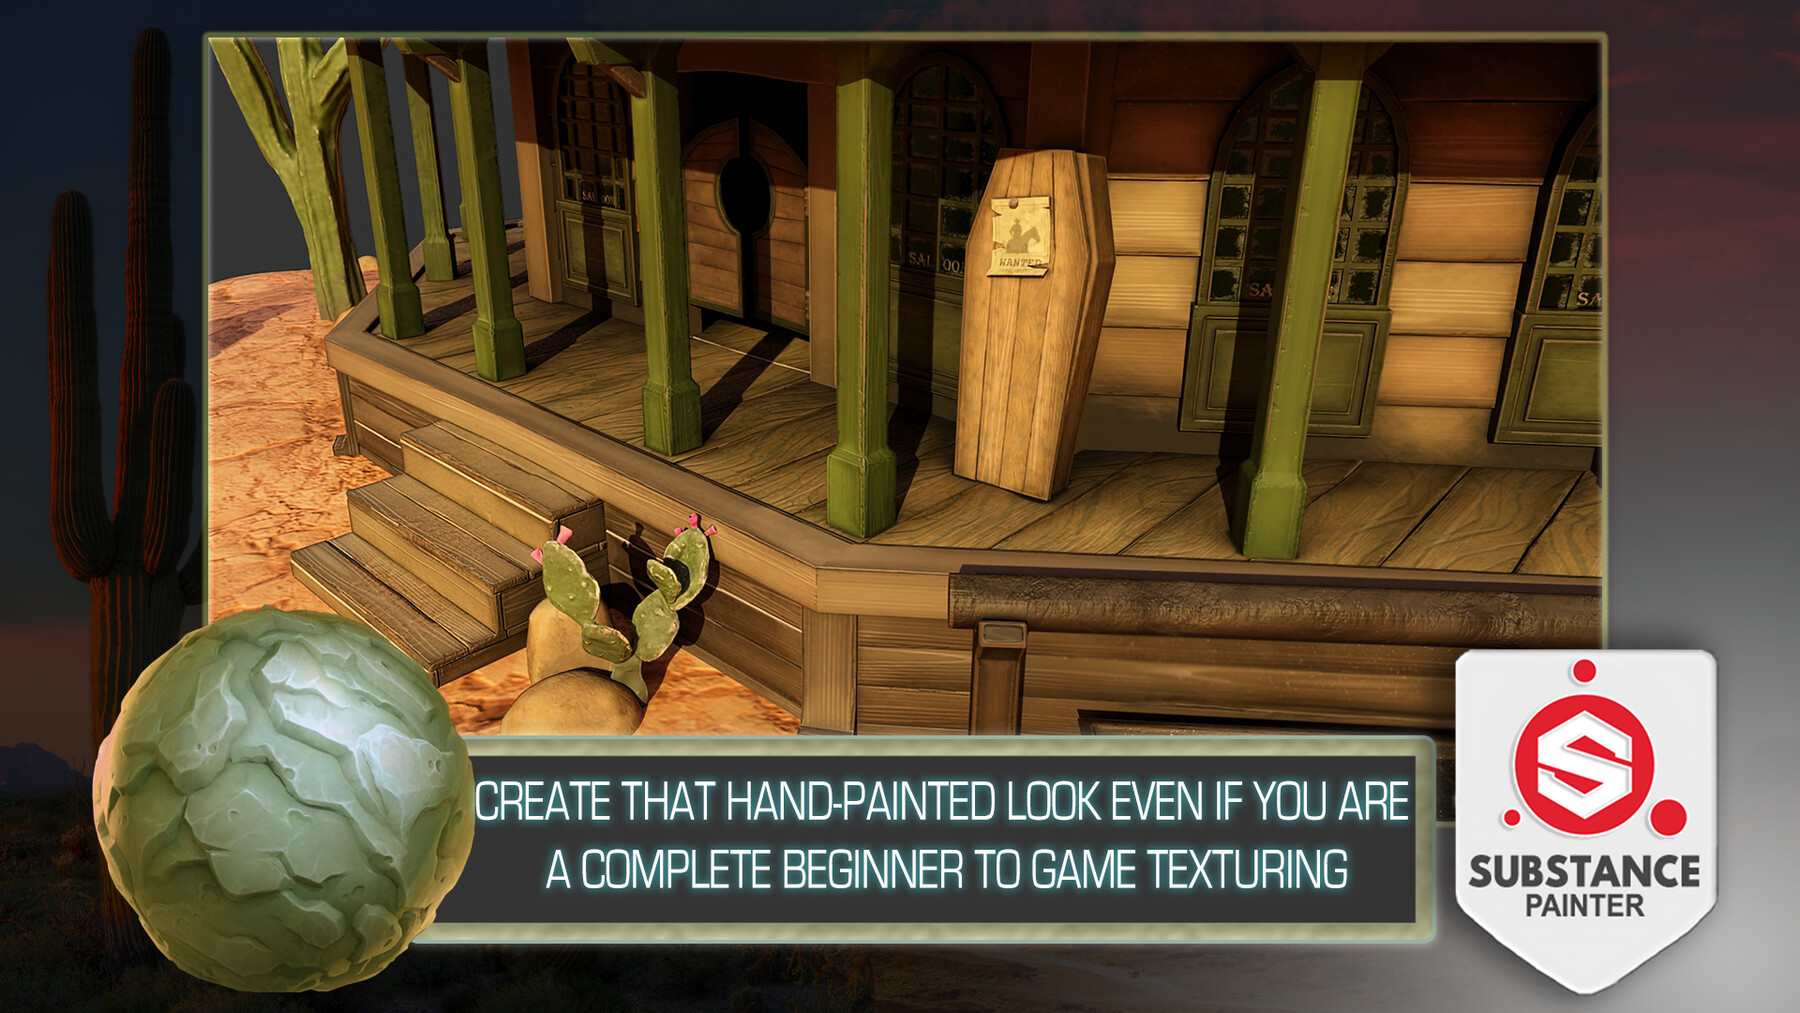
- Master the Art of Hand-Painted Texturing Effects;
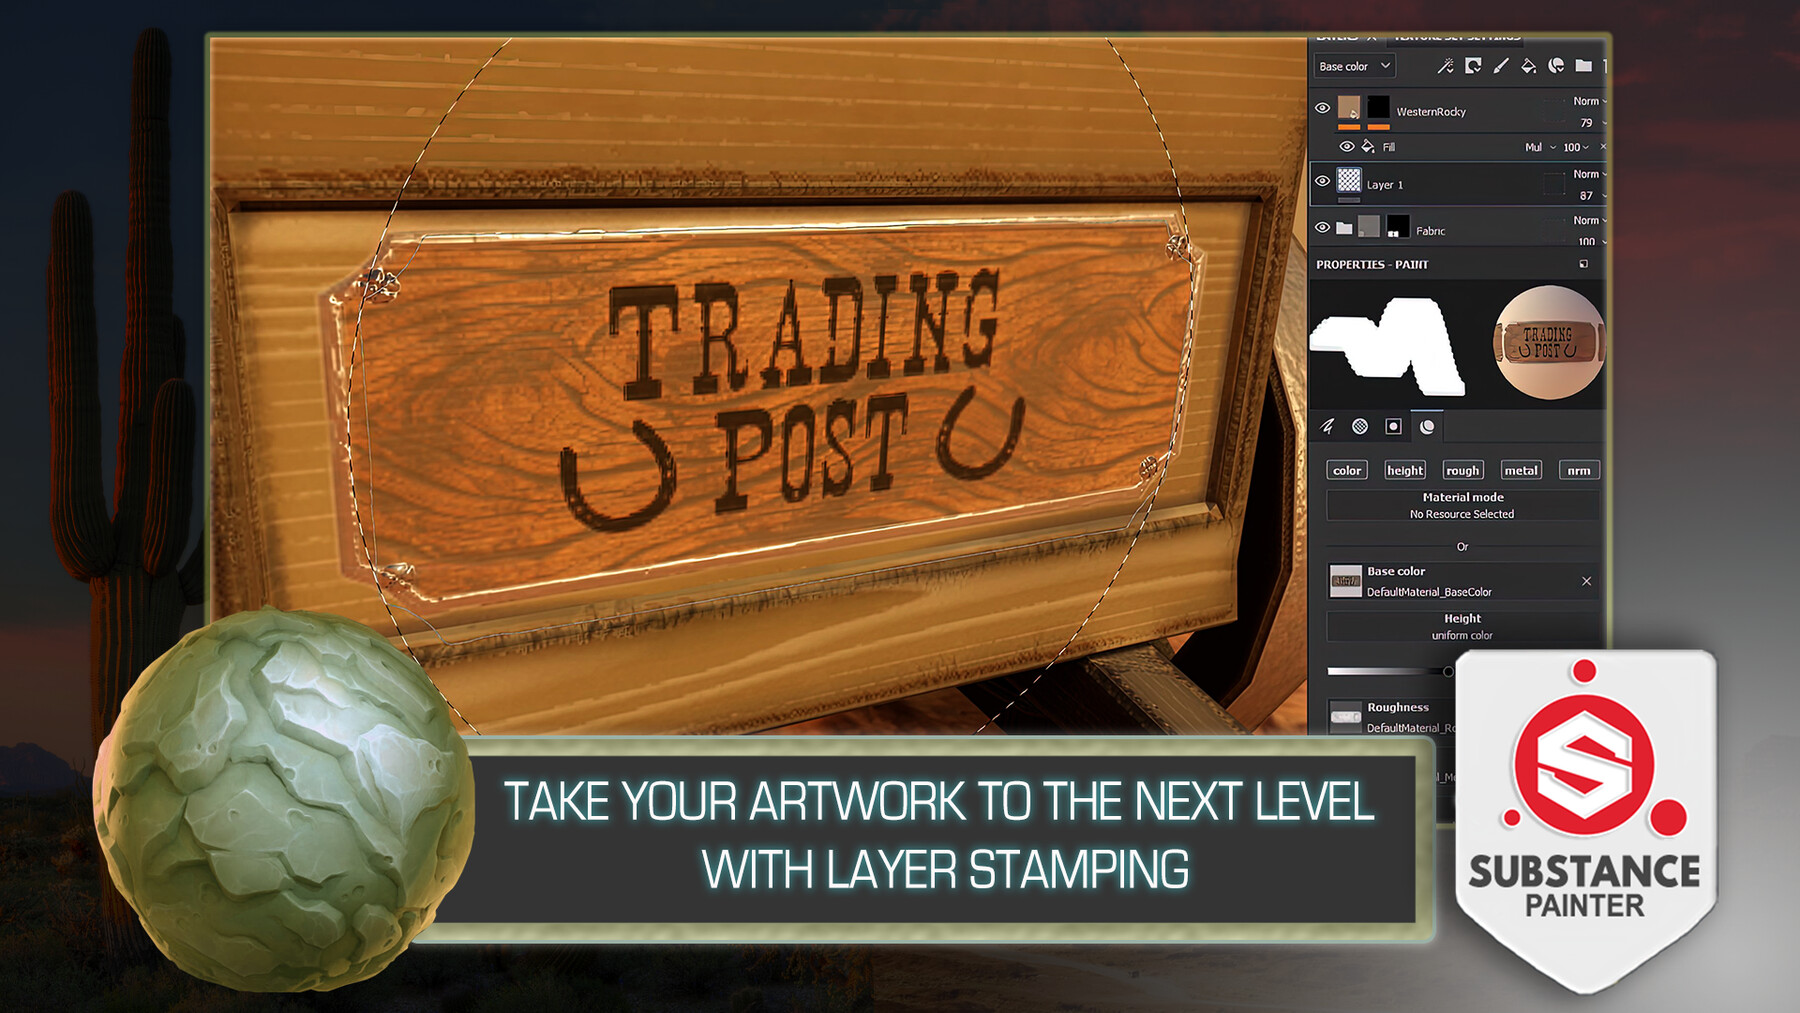
- Learn all about Layer Stamping and Boost your 3D Artwork Skills;
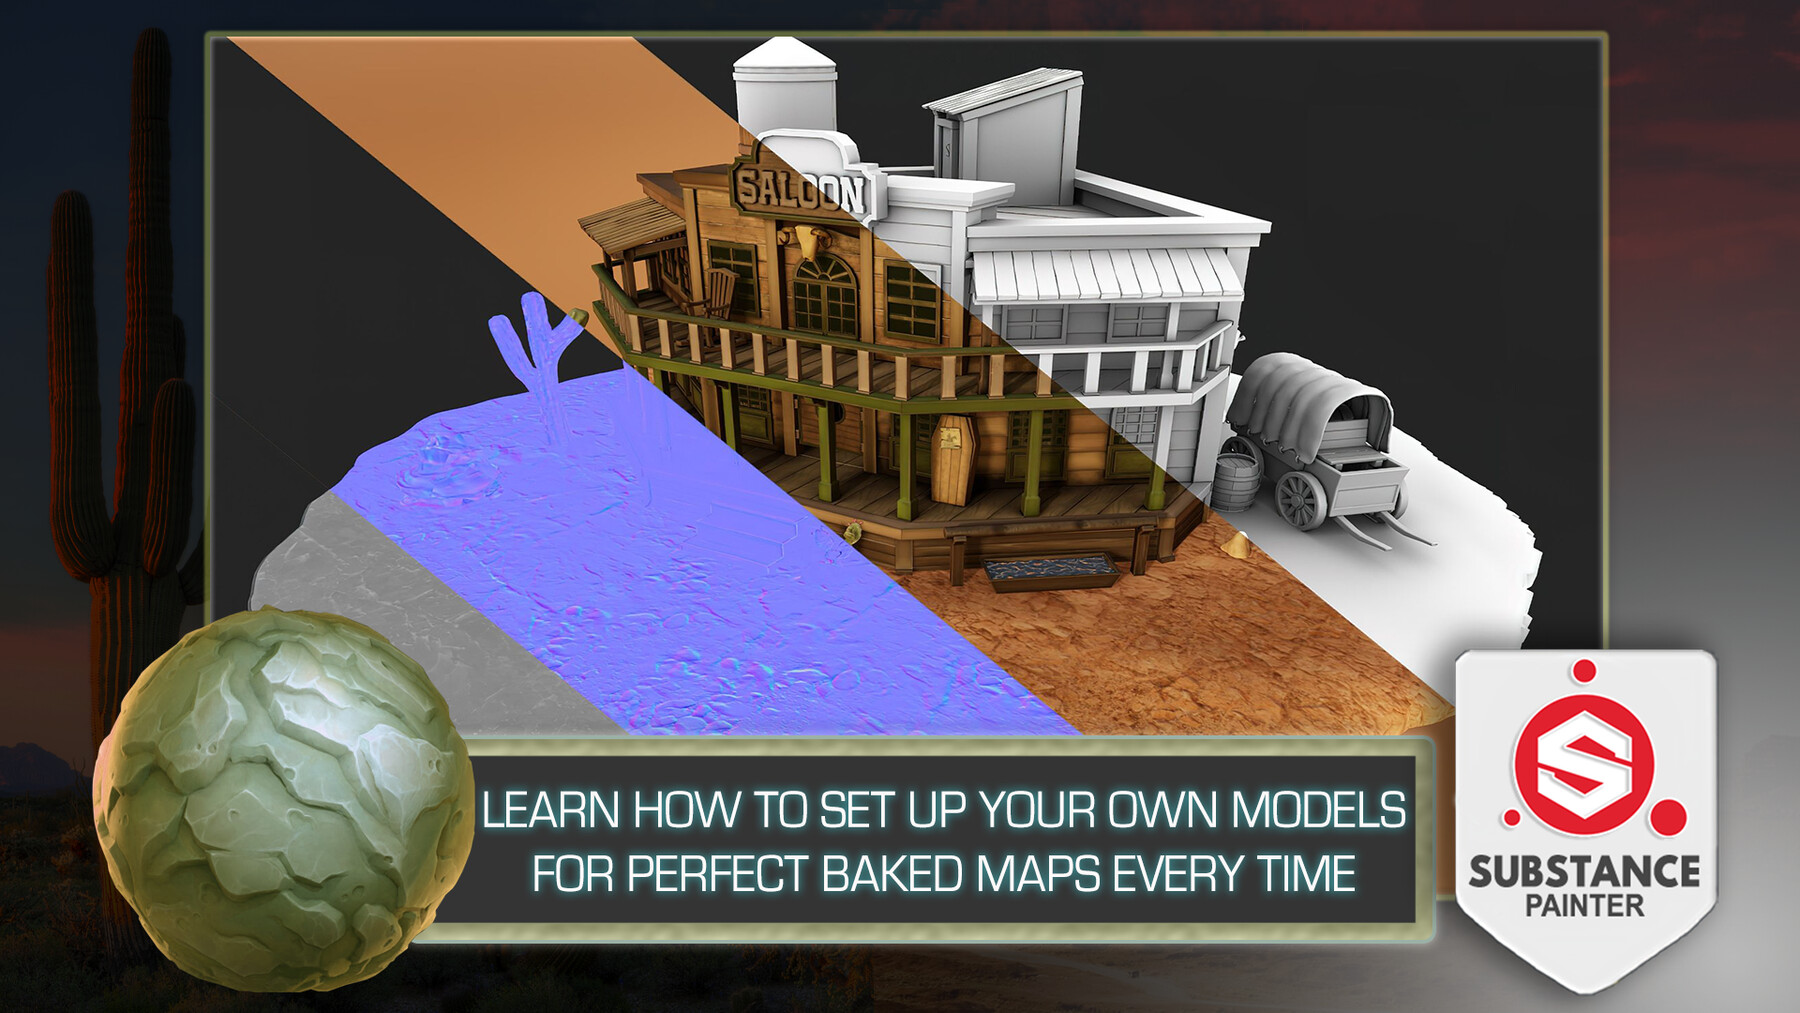
- Find out the Secrets of Getting Perfect Baked Maps all the Time;
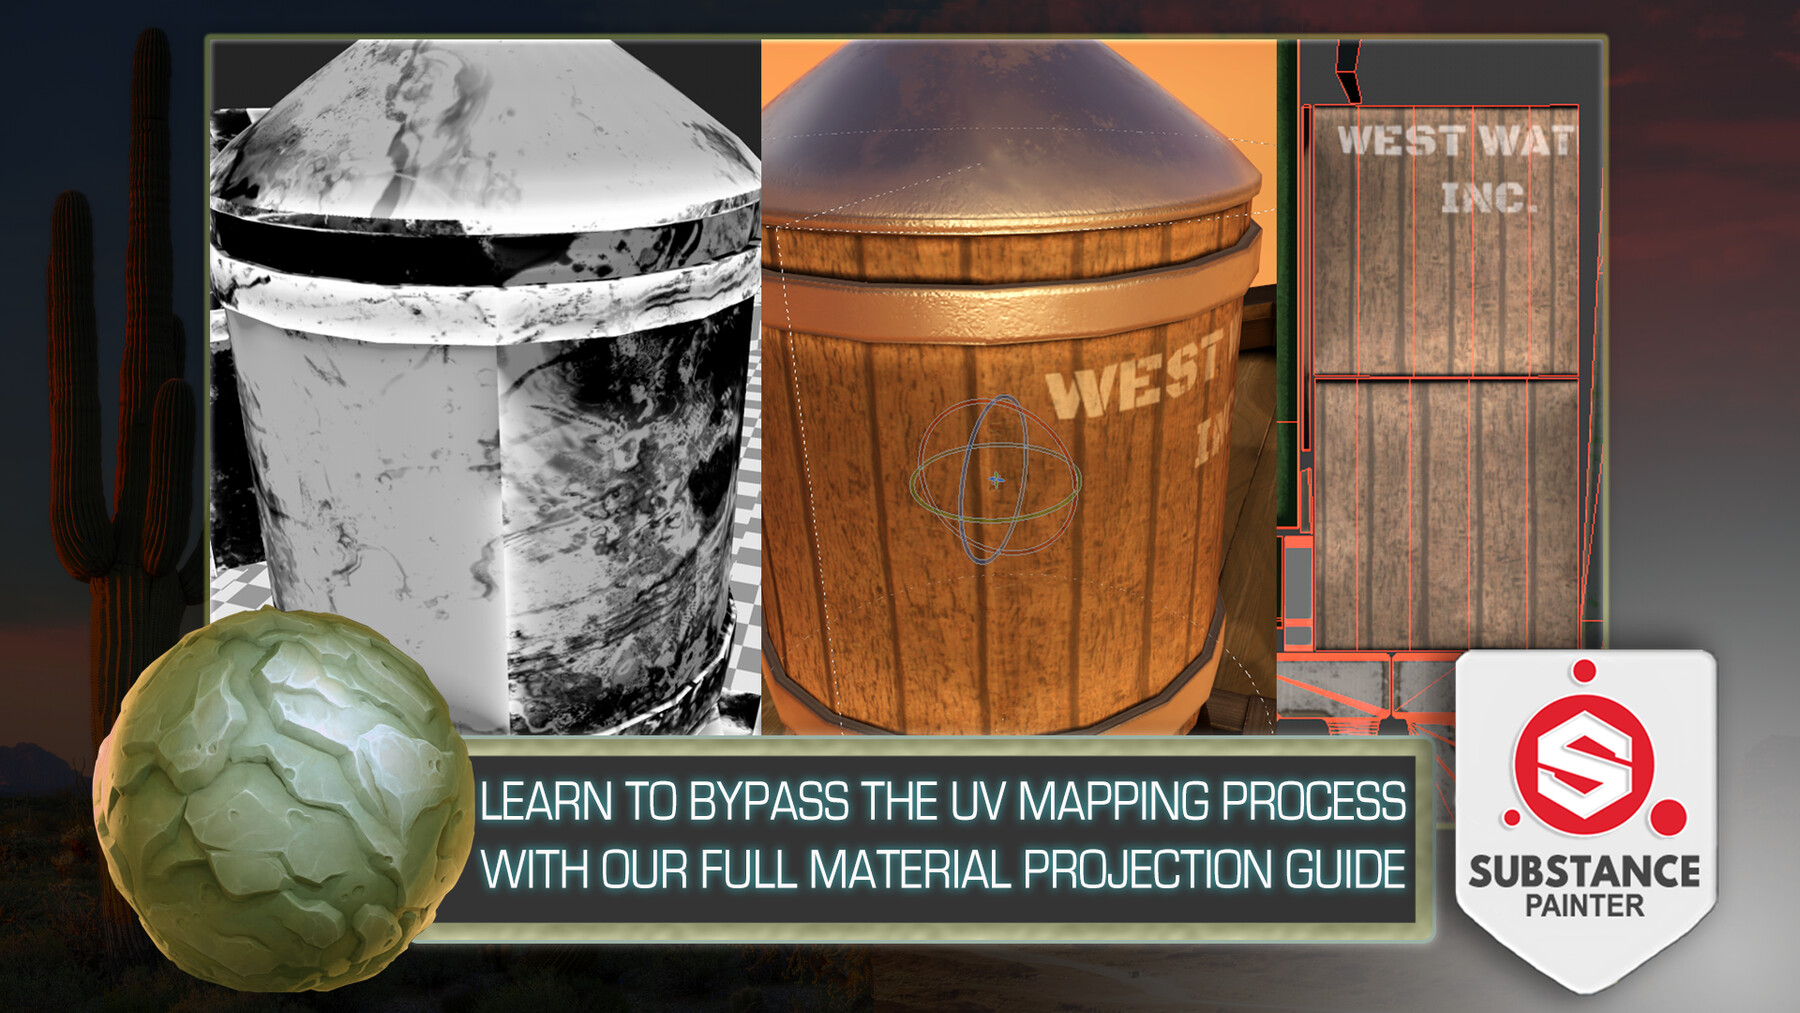
- Complete a Full Material Projection Guide to Circumvent UV Mapping;
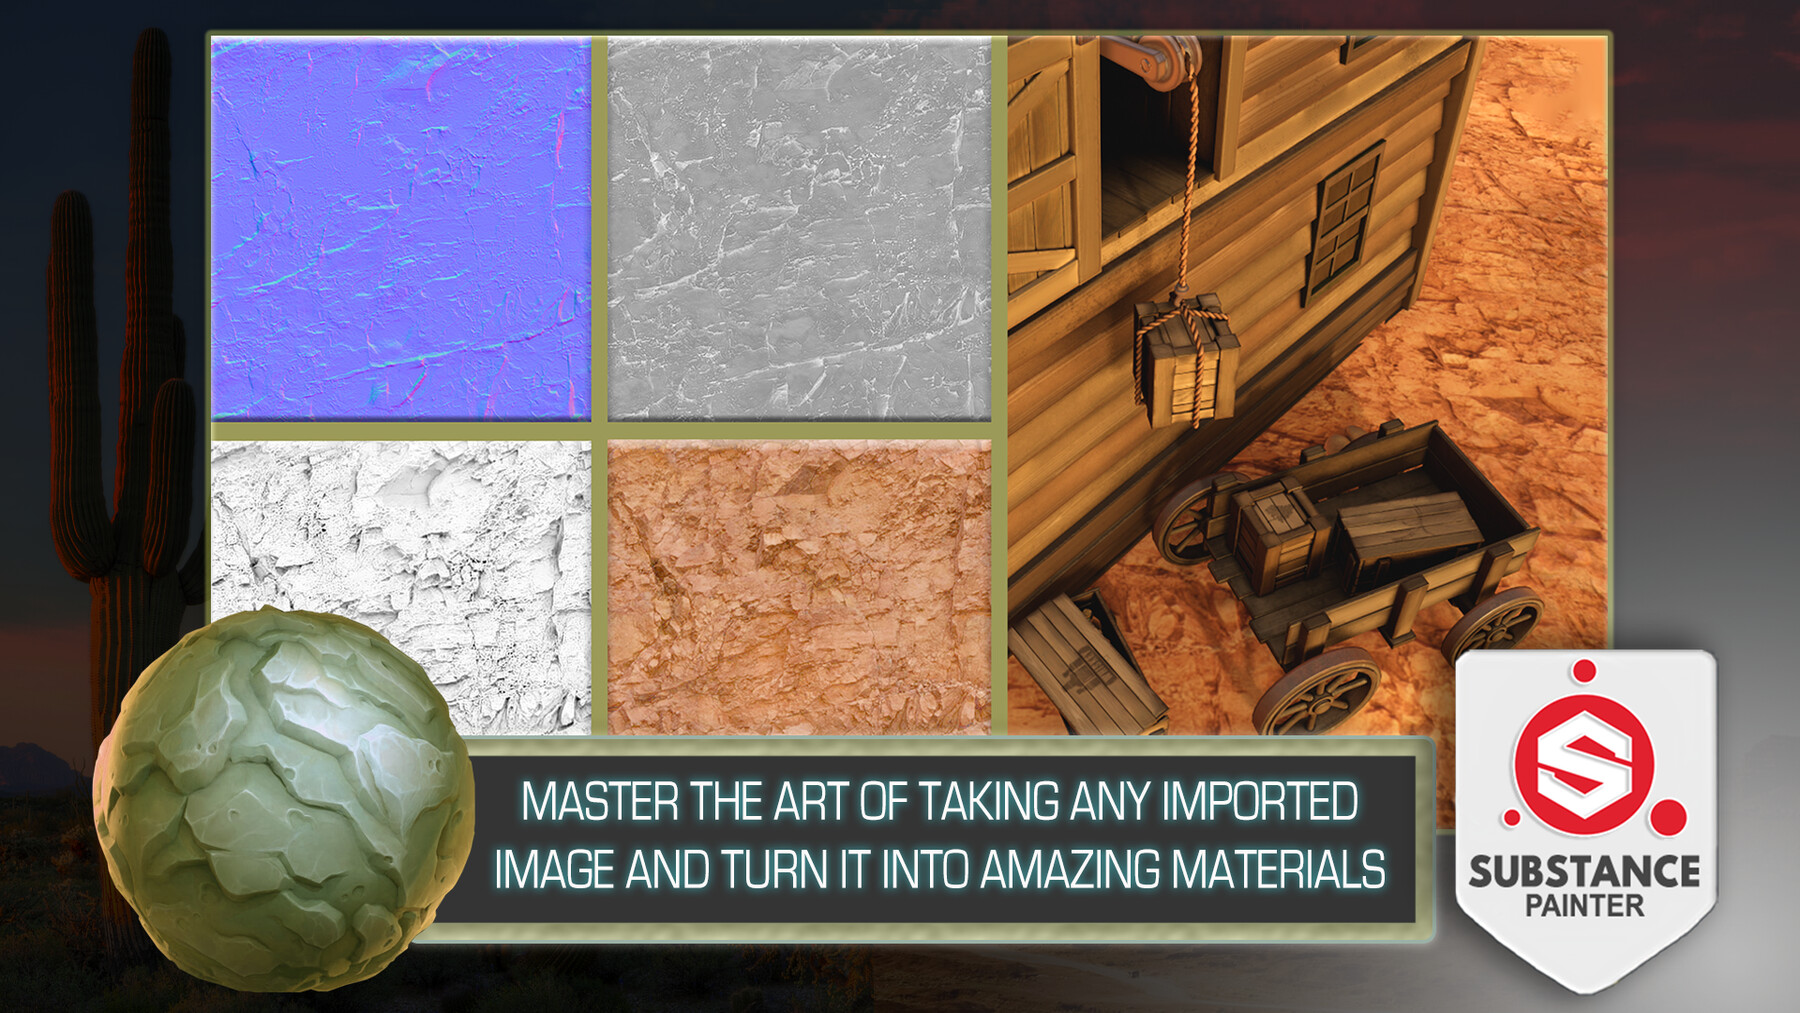
- Become a Mastermind at Taking any Image and Turning it into a Material.
Course Project
‘Substance Painter Beginner's Guide to Game Texturing’ allows you to upload a project as part of your learning process.
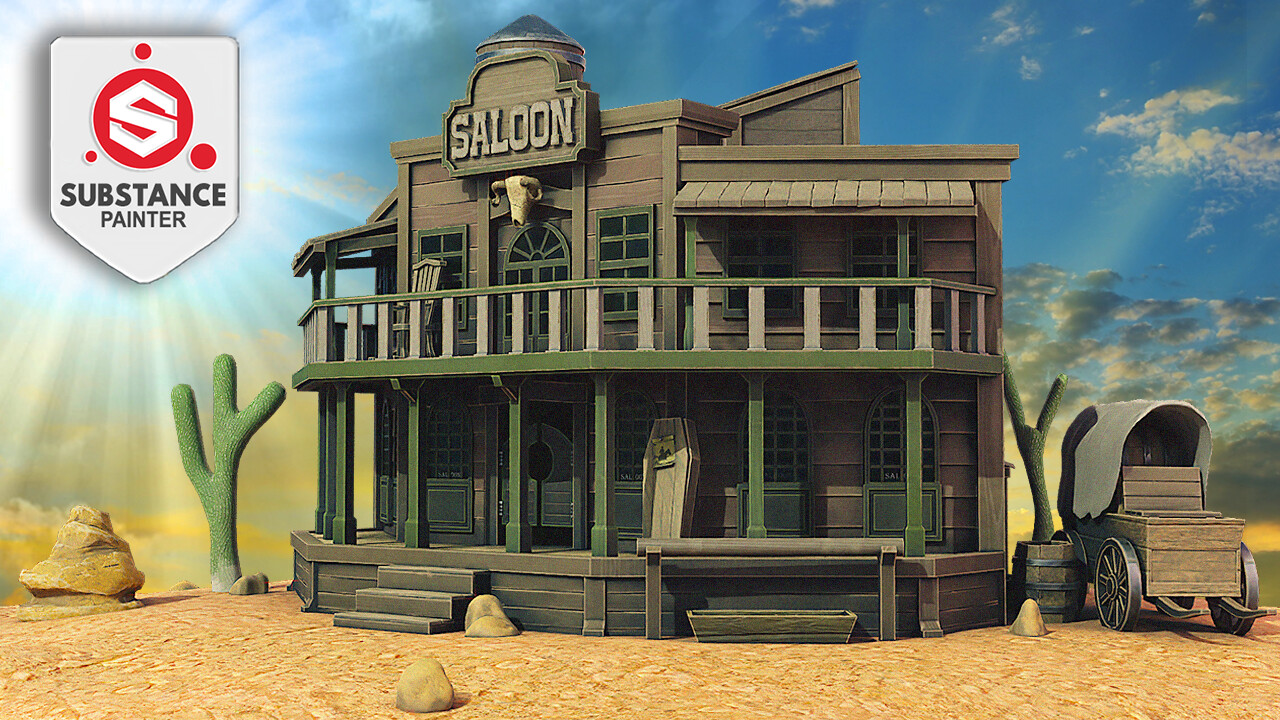
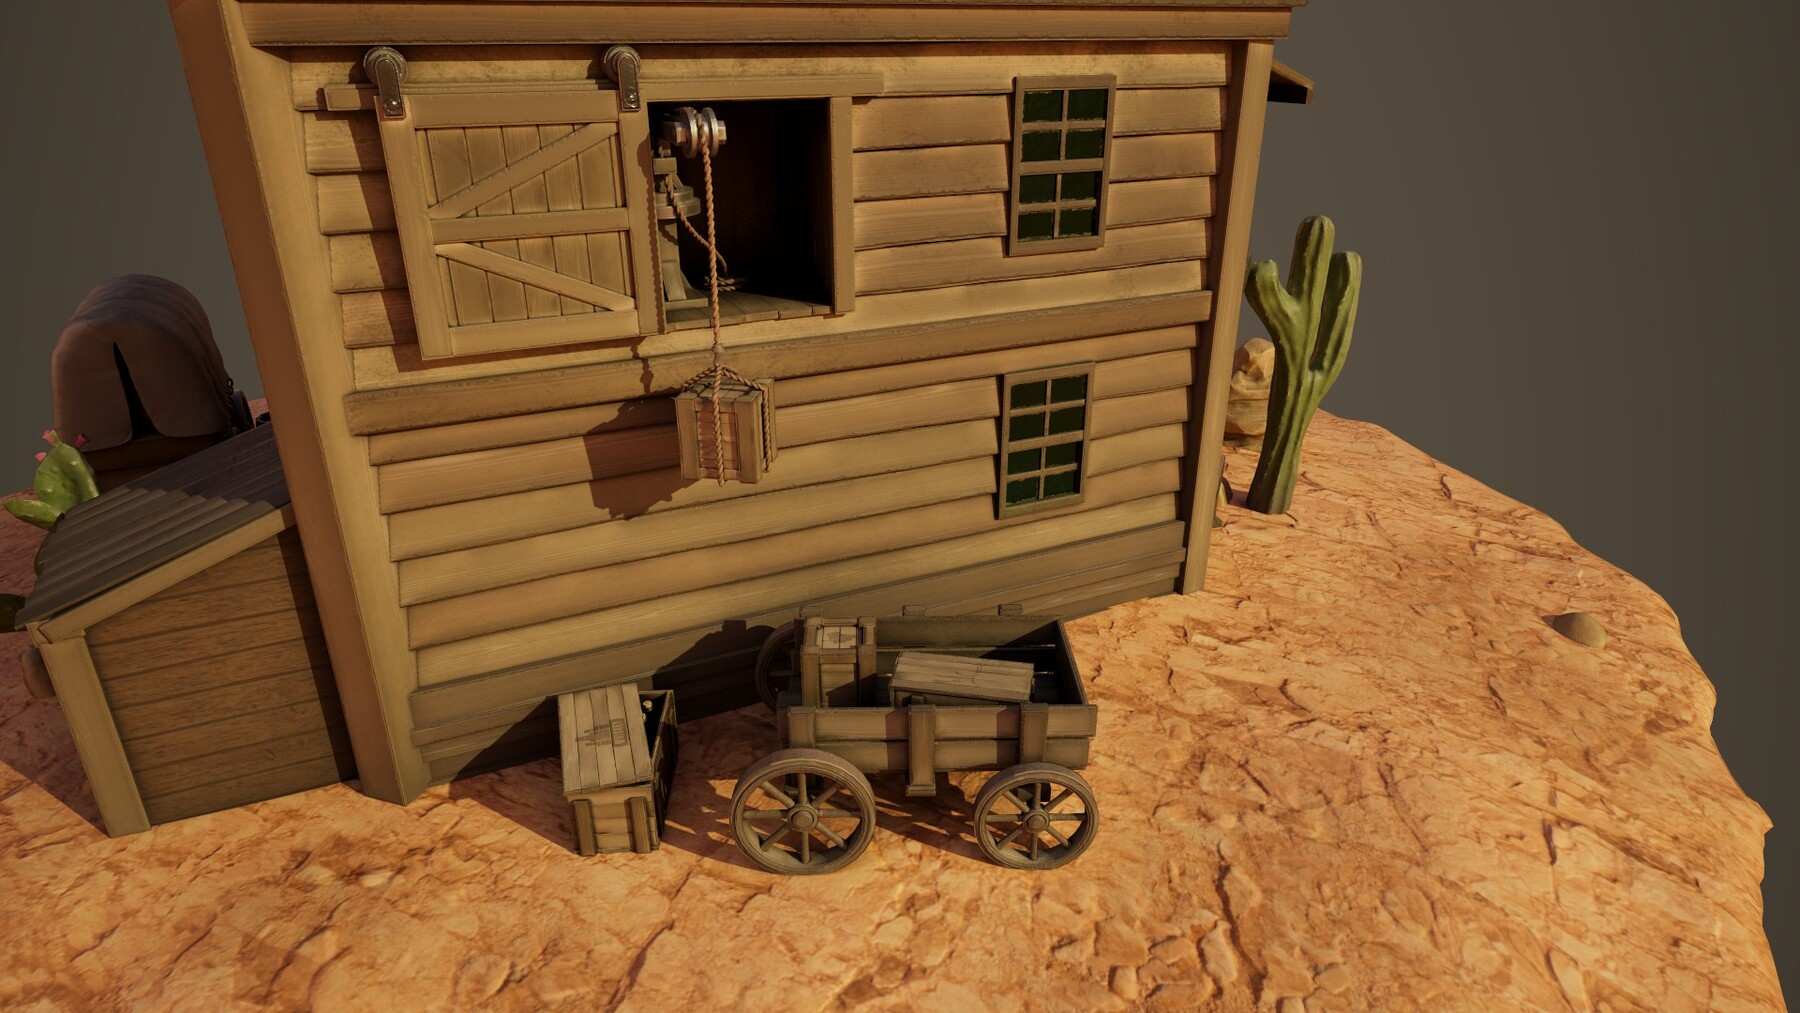
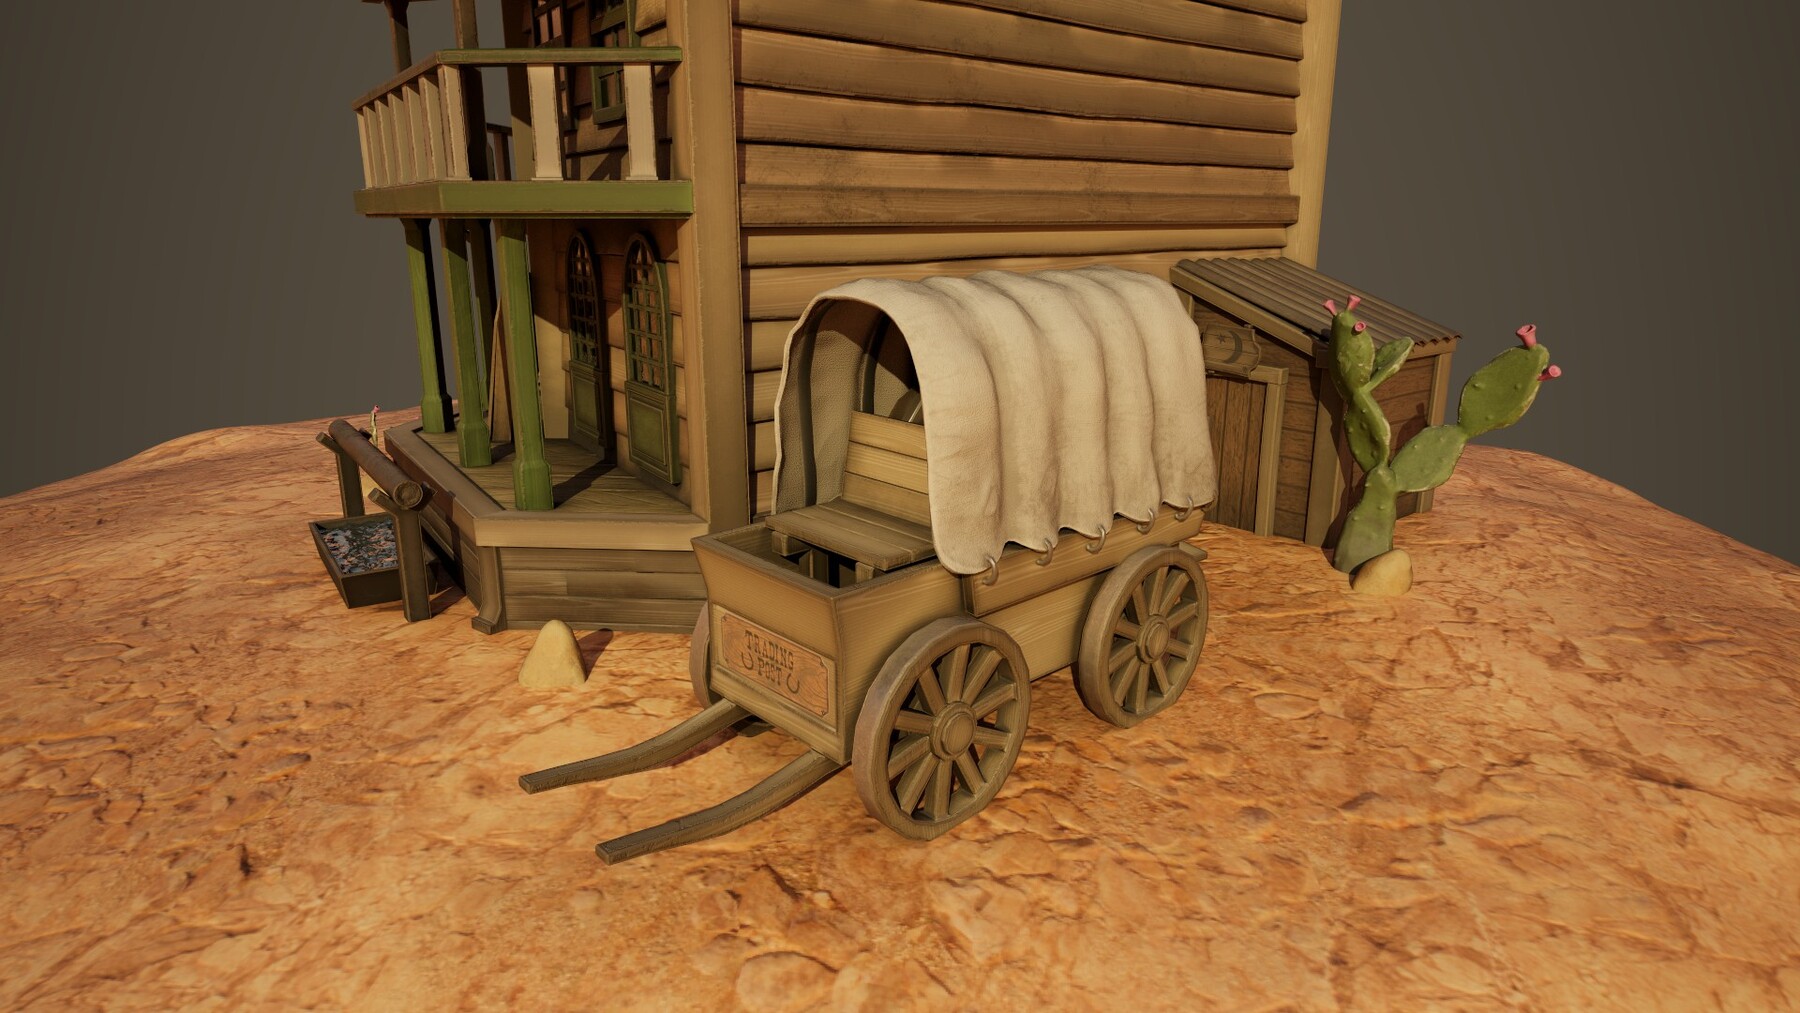
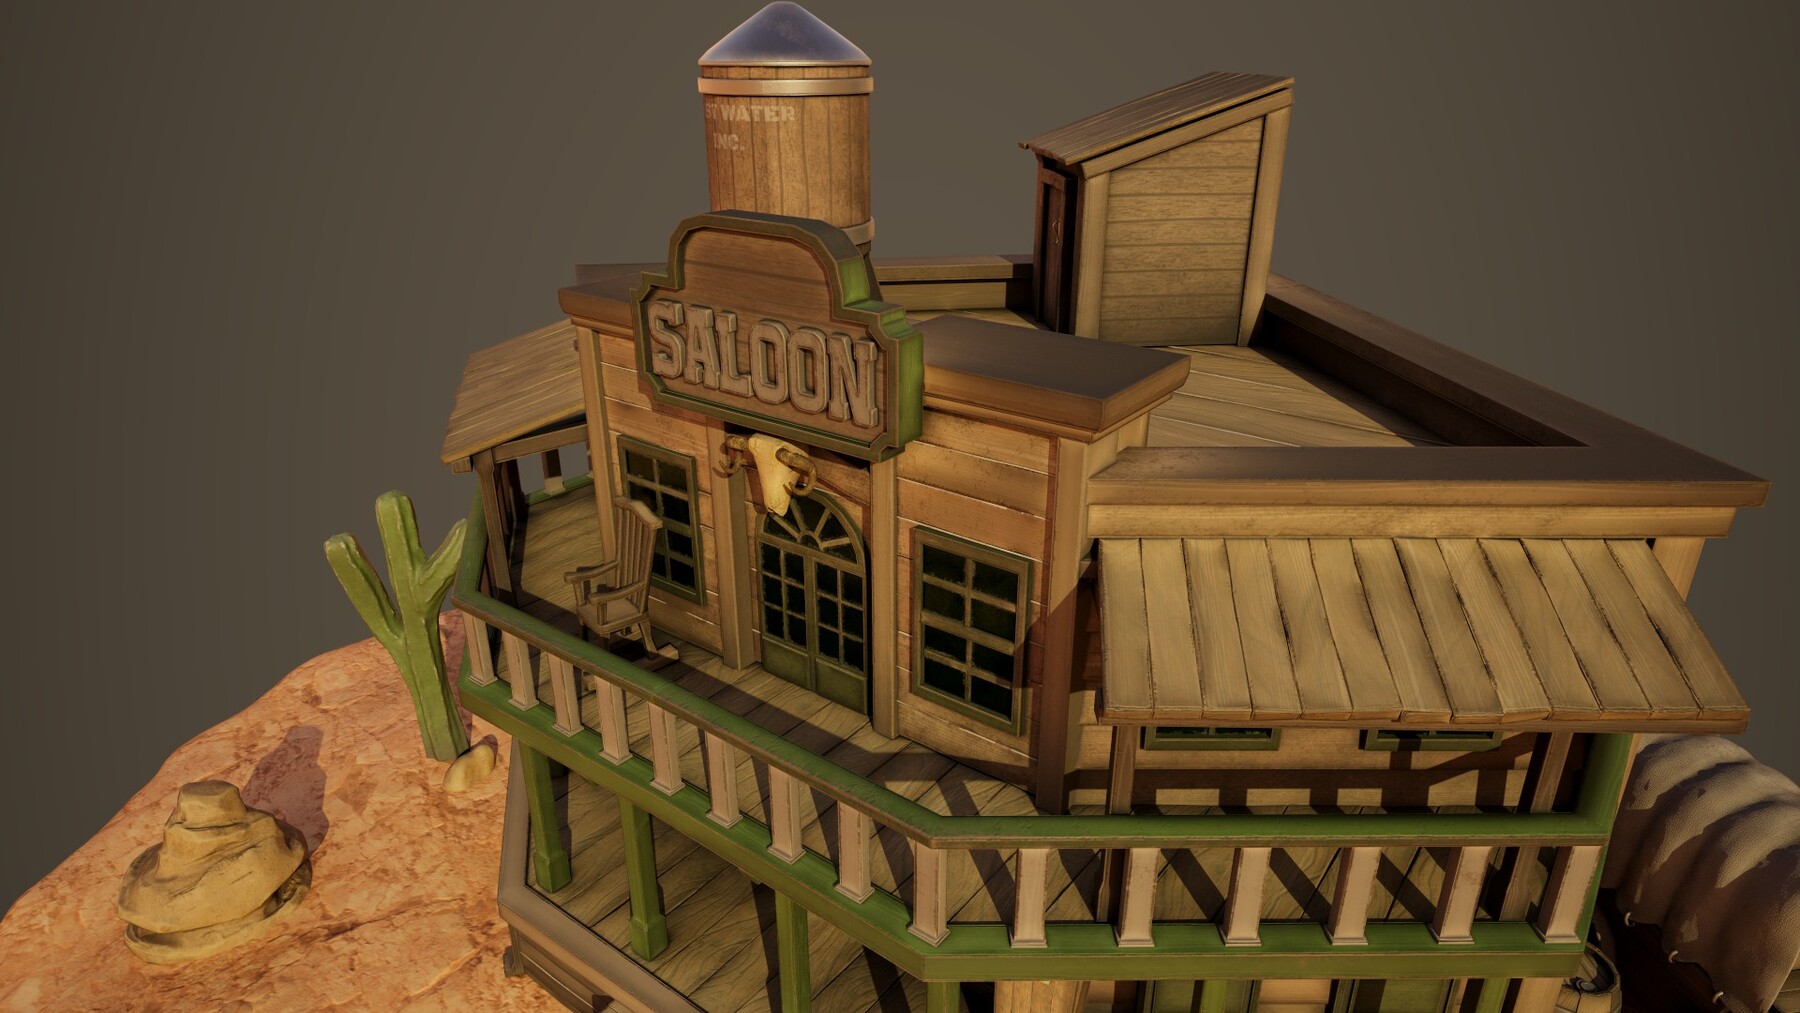
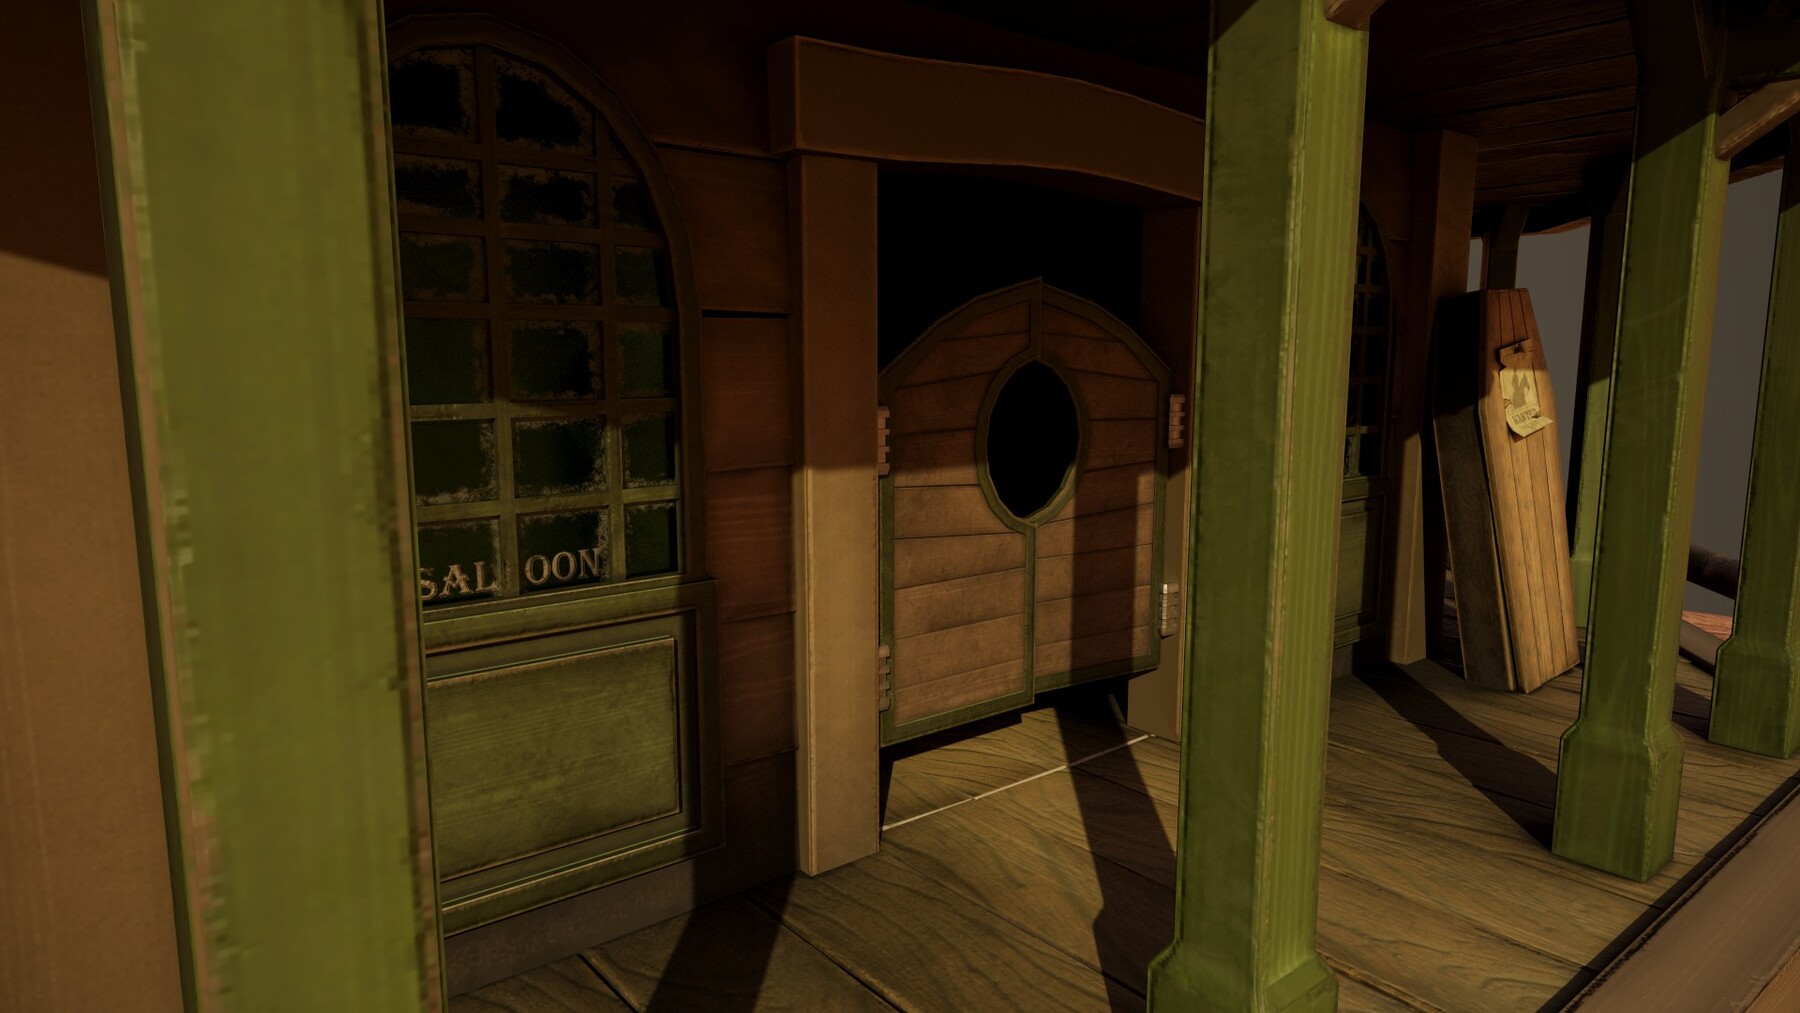
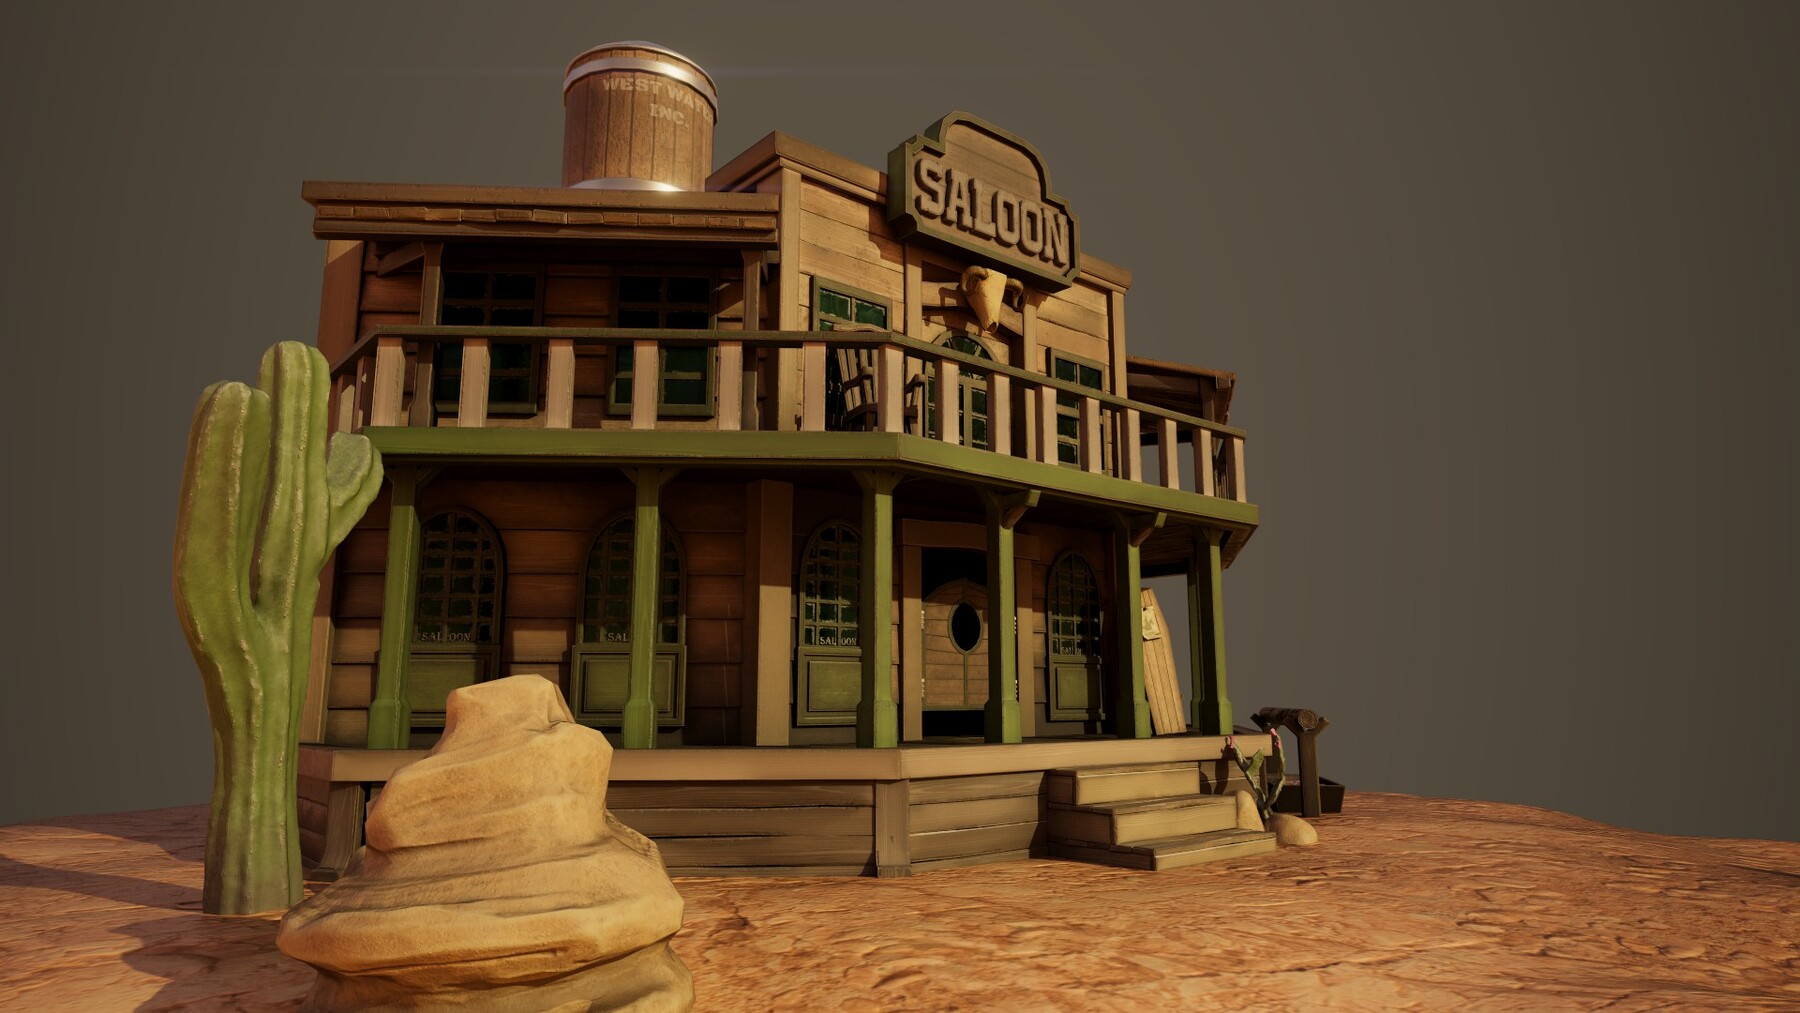
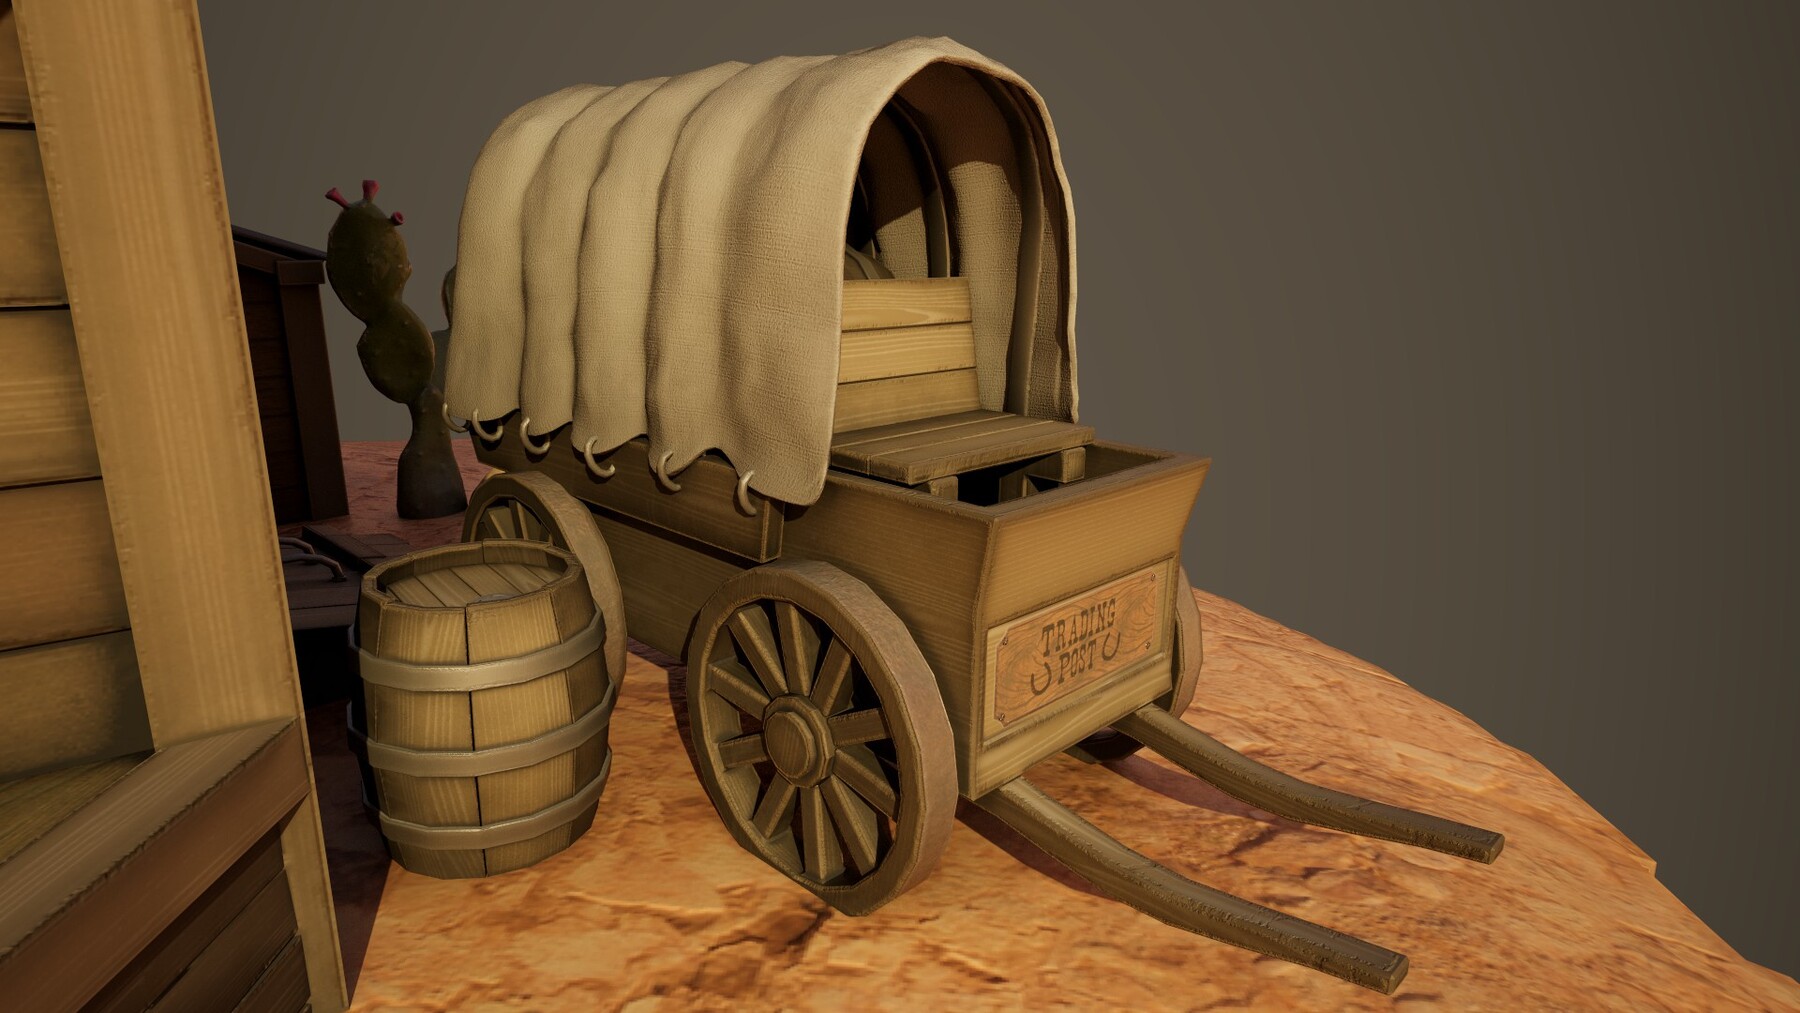
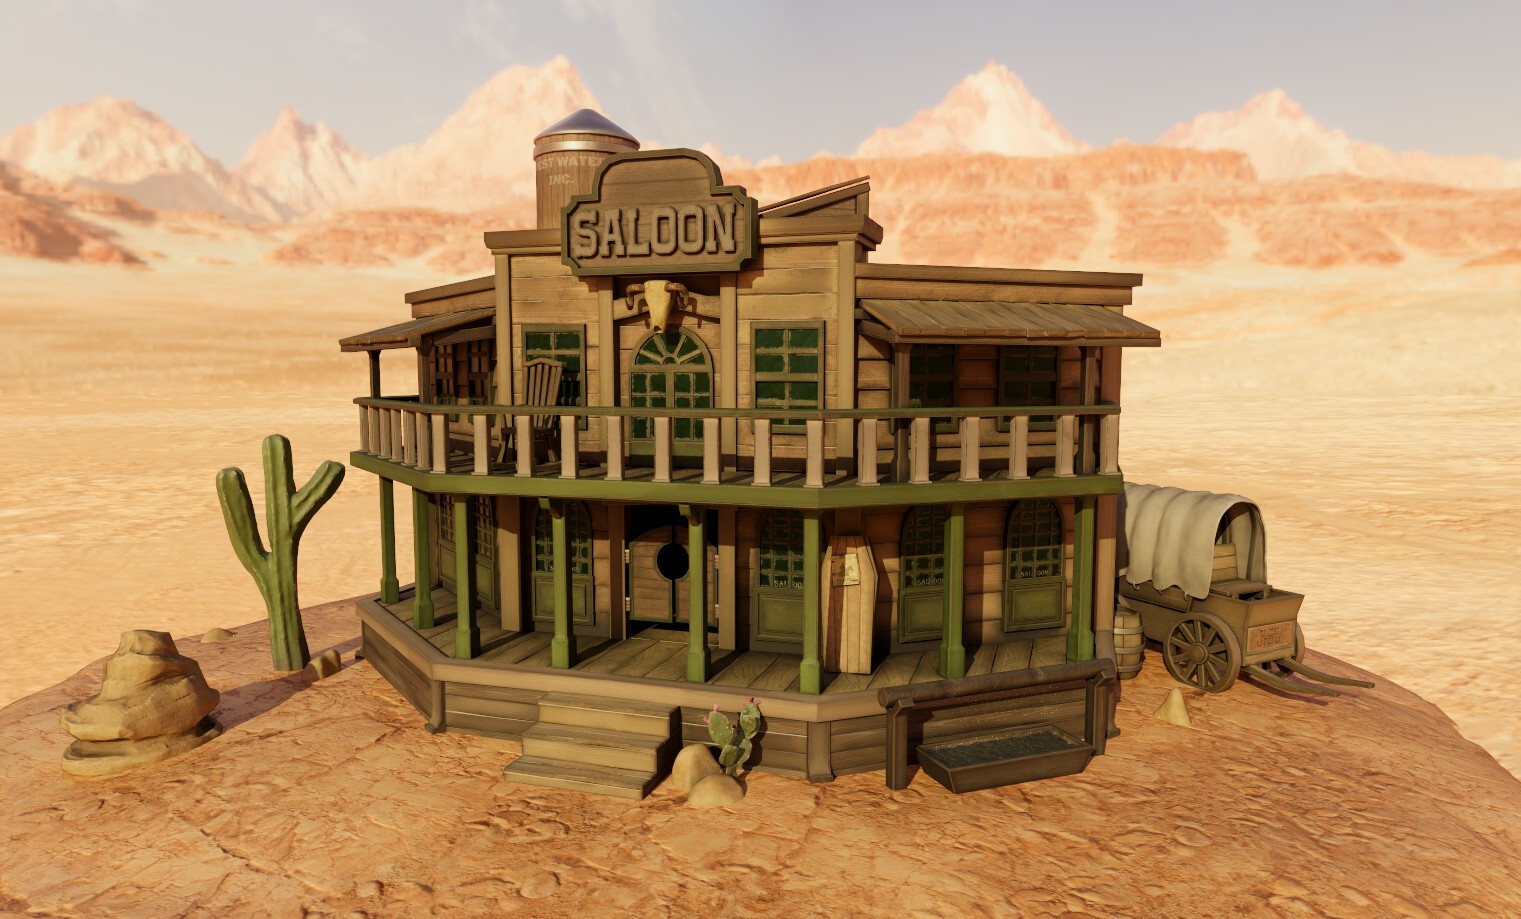
Your project will be to use Substance Painter to texture a stylized Wild West aka a Western-styled saloon and create a living scene around it following our course lessons. We will be texturing a stylized scene featuring two cacti, rocks, a water tank, a wagon, a wooden coffin, and a couple of barrels. There will also be a double swinging saloon door on the property for you to texture something special. You will be able to hear the typical Wild West revolver hammer clicks and mysterious hissing sounds of the desert as you create this.
Of course, you could set yourself a challenge and diversify aspects of the model such as adding different smaller assets or increasing the structural complexity of your scene by adding other Wild West buildings around the saloon.
Part 1: Setting up Models for Texturing
If you are a beginner, it is important that you learn the right techniques from the very start of your game texturing journey. We will be going through the most common issues people have when it comes to baking out texture maps. This will give you the best base possible before you learn about game texturing.
You will learn how to add additional detail to your low-poly props to make them look like they have high topology, similar to a AAA game asset. We will make use out of Substance Painter’s particle brushes to generate cracks in one of our secondary assets - the skull. We will also project a pattern onto its horns and highlight mesh edges to get the most out of our asset.
Part 2: Smart Materials
As we move through the course we will be creating a wide variety of materials. You will learn how to turn these materials into something usable in all your future creations. In Substance Painter, these are known as SMART materials. We will be creating SMART meterials for wood, metal, stone, cactus, glass, and fabric.
The best news is that you will be able to use these SMART materials in all your future projects, including this one.
Simply put, the more of these special materials you have created, the faster your workflow will become. As part of ‘Substance Painter Beginner's Guide to Game Texturing’, we will learn how to use the SMART materials we created together with PBR material textures to get the best of both worlds.
Part 3: UV Mapping
Now, we all know how frustrating UV unwrapping and UV mapping can be - especially if you are new to the world of 3D texturing. So, I am happy to say as part of ‘Substance Painter Beginner's Guide to Game Texturing’, we will be covering amazing techniques to make the process a lot more automated.
Using cutting-edge technology, we can now pretty much bypass the whole marking seams and UV mapping process entirely. We will use a variety of projection techniques to avoid UV seam artifacts in our textures. We will use tri-planar projection and cylindrical projection to help us get the patterns within seemingly plain areas.
Part 3: Creating your Own Materials
Creating materials using textures you can find anywhere on the internet, puts the power back in your hands. ‘Substance Painter Beginner's Guide to Game Texturing’ will show you how to use your imagination to make your materials unique. This will include learning how to use transparent shaders to create water and glass see-through materials. And for sure, all of this will be done in Substance Painter exclusively.
This keeps the process simple at the same time as applying professional 3D textures to your 3D models.
Part 4: Create the Look & Feel of Hand-Painted 3D Models
If you’re a fan of stylized game art and believe you had to have years of practice to get anywhere with your own texturing, I am here to prove you wrong.
I will show you how to start the process and get amazing results in a matter of hours rather than years!
Part 5: Alphas, Decals & Layer Stamping
Gone are the days of sculpting every detail for every 3D model you create. Most of the work can be done through texturing.
By completing ‘Substance Painter Beginner's Guide to Game Texturing’, you will have conquered a true Substance Painter experience and you will have learned one of the best game texturing comprehensive workflows out there.
When we sat down as a team, our brief for this course was to take a complete beginner to Substance Painter and find the best ways of having them create a professional-looking textured 3D game asset in a few hours.
‘Substance Painter Beginner's Guide to Game Texturing’ will see us stamping out detail using alphas and normal map textures and blending their created information with mask generators using anchor points. This will help us blend in the textures with the newly created elements.
You will find out how to work with multiple layer blending options such as multiply and overlay settings to get the best layer build up for your materials. You will also learn how to use a layer’s single channel workflow to have more control over your material PBR values. This will help you find out how to set up your materials to be easily overlayed on top of one another without any of the detail bleeding through.
Course Resources & Freebies
The ‘Substance Painter Beginner's Guide to Game Texturing’ course resource pack includes a Blender File Mesh Example, an FBX Bad Mesh Example File, an FBX High Poly Mesh of Cactus and Rocks, an FBX of Desert Environment, 6 unique alpha stamps, 1 PBR texture sign stamp, and 5 PBR seamless materials.
Be creative! Make your Wild West aka Western-styled saloon environments bigger and grander. Even though this is not part of ‘Substance Painter Beginner's Guide to Game Texturing’, also think about creating different Unreal Engine 5 (UE5) environments in which to place your scene, including a busy Western town street or a shady part of a cul-de-sac. Use this game engine’s power to its full potential.
Engage in roleplay thinking as you texture your saloon and surrounding Wild West environment and create something that breathes life!
So, come give us a try and be blown away by just how much you can achieve from one course.
Until next time, happy modelling everyone!
Neil – 3D Tudor